
In recent years, large language models (LLM) have become a cornerstone of the artificial intelligence field due to their powerful text generation and understanding capabilities. Commercial LLMs are often expensive and have closed-source code, limiting the exploration space for researchers and developers. Fortunately, the open-source community offers excellent alternatives like Ollama, allowing everyone to easily experience the charm of LLMs and combine them with HPC and IDE plugins to create more powerful personal assistants.
# What is Ollama?
Ollama is a tool for building large language model applications. It offers a simple and easy-to-use command line interface and server, allowing you to easily download, run, and manage various open-source LLMs. Unlike traditional LLMs that require complex configurations and powerful hardware, Ollama allows you to conveniently experience the powerful features of LLMs as if you were using a mobile app.
# Advantages of Ollama
Ollama has the following significant advantages:
- Open source and free: Ollama and its supported models are completely open source and free, allowing anyone to use, modify, and distribute them freely.
- Simple and Easy to Use: No need for complex configuration and installation processes, Ollama can be started and run with just a few commands.
- Rich Model: Ollama supports many popular open-source LLMs such as Llama 3, Mistral, Qwen2, and provides one-click download and switching features.
- Low resource consumption: Compared to commercial LLMs, Ollama has lower hardware requirements and can run smoothly even on ordinary laptops.
- Community Activity: Ollama has a large and active community where users can easily get help, share experiences, and participate in model development.
# How to use Ollama?
Using Ollama is very simple, just follow these steps:
- Install Ollama: Download and install the latest version from the Ollama official website according to your operating system.
- Start Ollama: Open the terminal or command line and enter the
ollama servecommand to start the Ollama server. - Download Model: Find the desired model in the model library
, then use the
ollama pullcommand to download it, for example,ollama pull llama3:70b. - Run the model: Use the
ollama runcommand to start the model, for exampleollama run llama3:70b. - Start chatting: Enter your question or command in the terminal, and Ollama will generate a corresponding response based on the model.
# Install Ollama
# macOS
# Windows
# Linux
| |
# Docker
# CPU version
| |
# GPU version
- Install Nvidia container toolkit
- Run Ollama in a Docker container
| |
# Launch Ollama
| |
Output the following information indicating that the Ollama server has successfully started (V100 machine):
| |
# Download model
| |
# Run model
| |
For example, after running the following command:
| |
# Run model in Docker container
| |
# Configure Ollama
Ollama provides a variety of environment variables for configuration:
OLLAMA_DEBUG: Whether to enable debug mode, default isfalse.OLLAMA_FLASH_ATTENTION: Whether to flash attention, default istrue.OLLAMA_HOST: Host address of the Ollama server, default is empty.OLLAMA_KEEP_ALIVE: Time to keep the connection alive, default is5m.OLLAMA_LLM_LIBRARY: LLM library, default is empty.OLLAMA_MAX_LOADED_MODELS: Maximum number of loaded models, default is1.OLLAMA_MAX_QUEUE: Maximum number of queues, default is empty.OLLAMA_MAX_VRAM: Maximum virtual memory, default is empty.OLLAMA_MODELS: Model directory, default is empty.OLLAMA_NOHISTORY: Whether to save history, defaults tofalse.OLLAMA_NOPRUNE: Whether to enable pruning, default isfalse.OLLAMA_NUM_PARALLEL: Number of parallels, default is1.OLLAMA_ORIGINS: Allowed origins, default is empty.OLLAMA_RUNNERS_DIR: Runner directory, default is empty.OLLAMA_SCHED_SPREAD: Scheduling distribution, default is empty.OLLAMA_TMPDIR: Temporary file directory, defaults to empty.
# Advanced Usage: Deploying Ollama on an HPC Cluster
For large models or situations requiring higher performance, the powerful computing power of an HPC cluster can be used to run Ollama. By combining with Slurm for task management and using port mapping to expose the service locally, remote access and use can be conveniently achieved:
- Configure the Ollama environment on the login node: Install Ollama and download the required models.
- Write a slurm script: Specify resource requirements (CPU, memory, GPU, etc.), and use the
ollama servecommand to start the model service and bind it to a specific port.
| |
- Submit slurm task: Use the
sbatchcommand to submit the script, Slurm will allocate the task to compute nodes for execution. - Local Port Mapping: Use the ssh -L command to map the compute node’s port to the local machine, for example:
| |
- Local Access: Access http://localhost:11434 in a browser or application to use the Ollama service.
Important
Note: Since the compute node is not connected to the internet, you need to use
ollama pullon the login node in advance to download the required model. Additionally, you need to setOLLAMA_ORIGINSto*andOLLAMA_HOSTto0.0.0.0to allow all sources to access the service.
# Advanced Usage: Local Code Completion Assistant
Ollama can not only be used for chatting and text creation but also for creating a powerful code completion assistant by combining code generation models and IDE plugins. For example, using the Codeqwen 7B model and the VS Code plugin Continue , efficient and convenient code completion functionality can be achieved.
First, let me introduce Continue:
Continue allows you to easily create your own coding assistant directly inside Visual Studio Code and JetBrains with open-source LLMs. All of this can run entirely on your own laptop or have Ollama deployed on a server to remotely power code completion and chat experiences based on your needs.
― Continue
Before starting, you need to install the following tools:
Next, using VS Code as an example, we will introduce how to use Ollama + Continue to implement code completion functionality:
# Codestral 22B Model
Codestral is capable of both code auto-completion and chat functionality. However, given that it has 22 billion parameters and lacks a production license, it requires a significant amount of video memory and is limited to research and testing use, so it may not be suitable for everyday local applications.
# Download and run the Codestral model
| |
# Configure config.json
- In the VS Code sidebar, click the Continue plugin icon, then click the “gear” icon at the bottom right of the panel to open the
config.jsonfile. Then copy the following configuration into theconfig.jsonfile:
| |
# DeepSeek Coder 6.7B model + Llama 3 8B model
Depending on the machine’s VRAM size, you can utilize Ollama’s ability to run multiple models simultaneously and handle multiple concurrent requests, using DeepSeek Coder 6.7B for auto-completion, and Llama 3 8B for chatting. If your machine cannot run both at the same time, you can try them separately to decide whether you prefer the local auto-completion or the local chat experience.
# Download and run the DeepSeek Coder model
| |
# Download and run the Llama 3 model
| |
# Configure config.json
| |
# Codeqwen 7B model + Qwen2 7B model
The Codeqwen 7B model is a model specifically designed for code completion, while the Qwen2 7B model is a general-purpose chat model. These two models can be well combined to achieve both code completion and chat functions.
# Download and run the Codeqwen model
| |
# Download and run the Qwen2 model
| |
# Configure config.json
| |
# Optimize chat using RAG vector retrieval
Continue has a built-in @codebase context provider that can automatically retrieve the most relevant code snippets from the codebase. If you have set up a chat model (such as Codestral, Llama 3), then with the help of Ollama and LanceDB ’s vectorization technology, you can achieve more efficient code retrieval and chat experience.
Here, we use the nomic-embed-text model as the vector retrieval model:
# Download and run the Nomic Embed Text model
| |
# Configure config.json
- Add the following content to the file:
| |
# Code completion effect
Ctrl + I: Generate code snippet based on instructions.


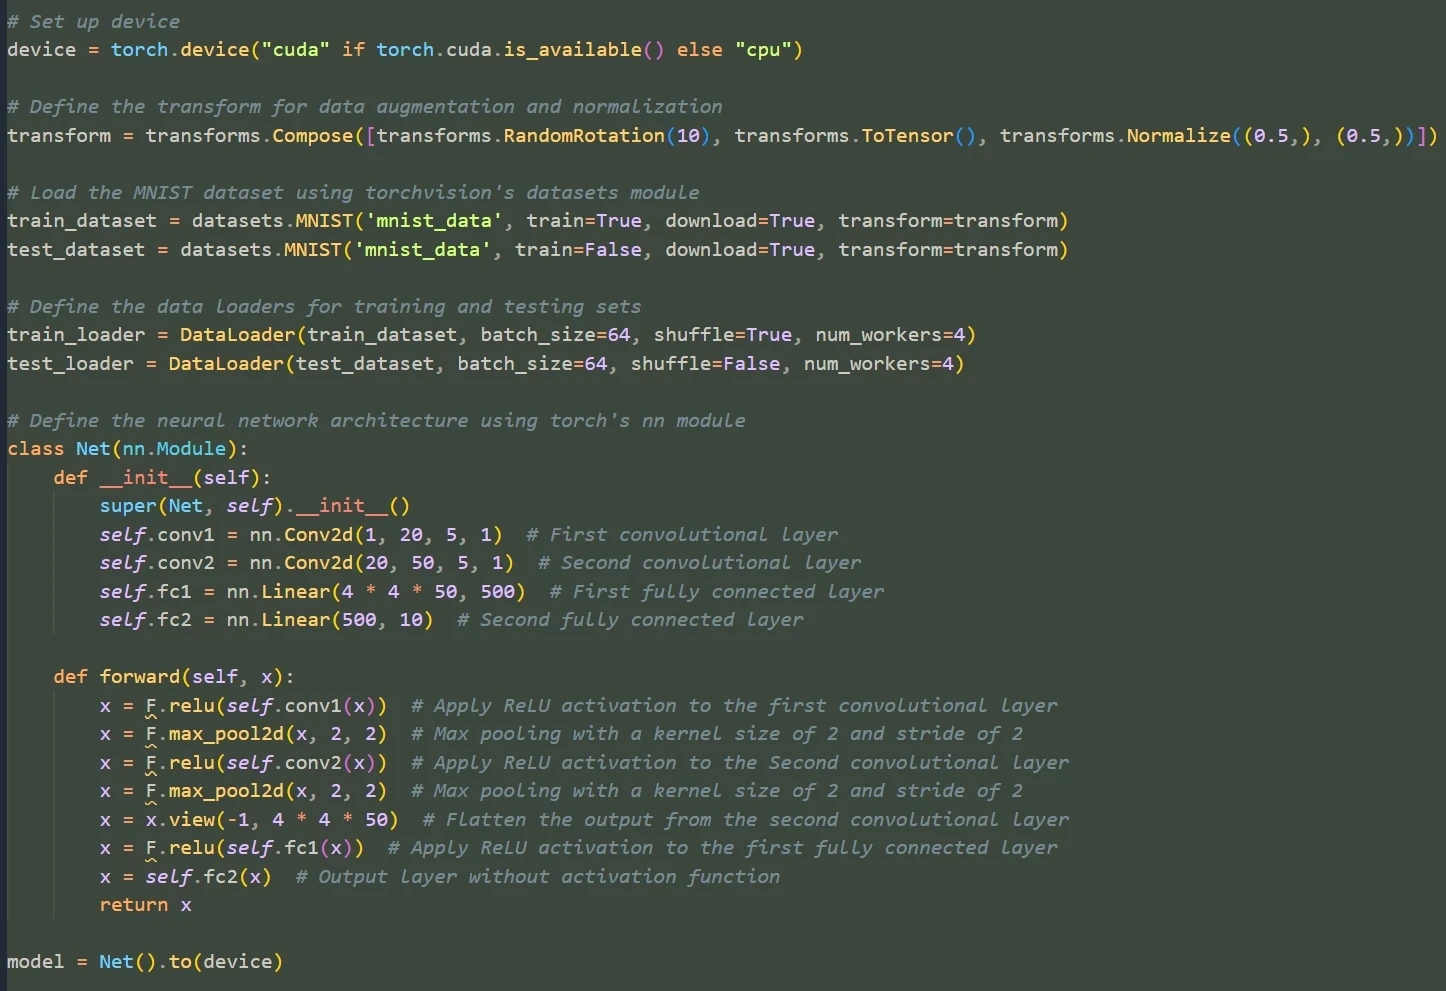
- Cursor hover auto-complete code
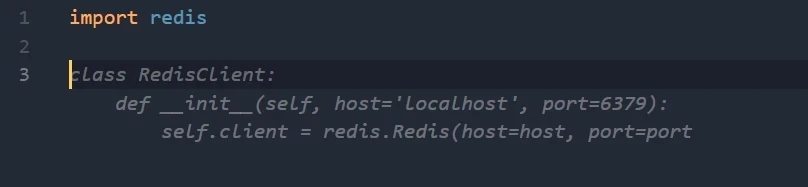
# Chat with Ollama

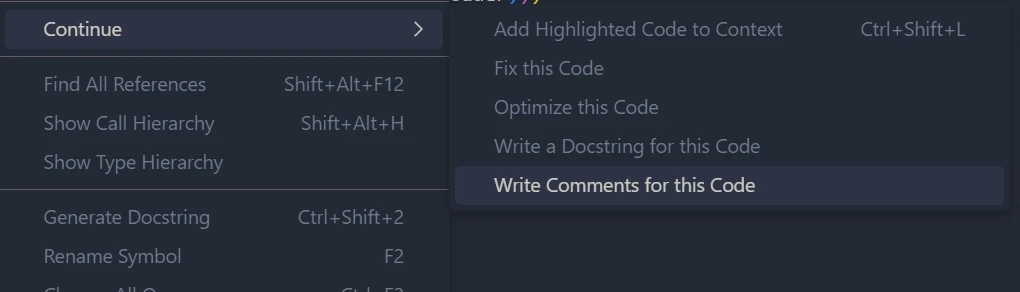
# Code auto-comment
- Select code to open the right-click menu

# Summary
Ollama has opened the door to the world of open-source LLM, allowing everyone to easily experience the powerful features of LLM and customize applications according to their own needs. Whether for research, development, or daily use, Ollama can provide you with a platform to explore the limitless possibilities of LLM. With the continuous development of Ollama, it is believed that it will bring us more surprises and promote the application and development of LLM technology in various fields.